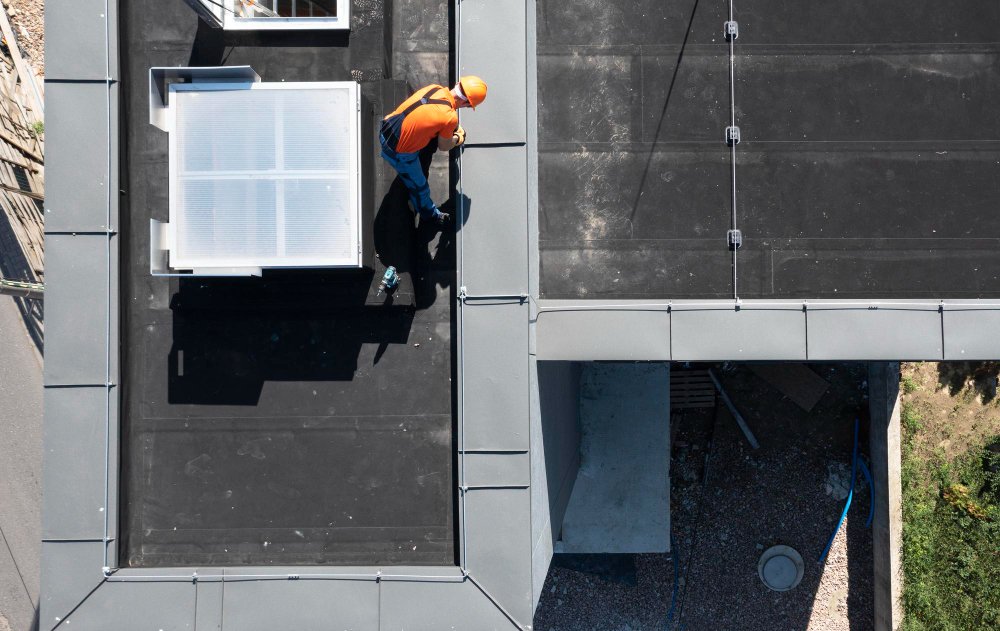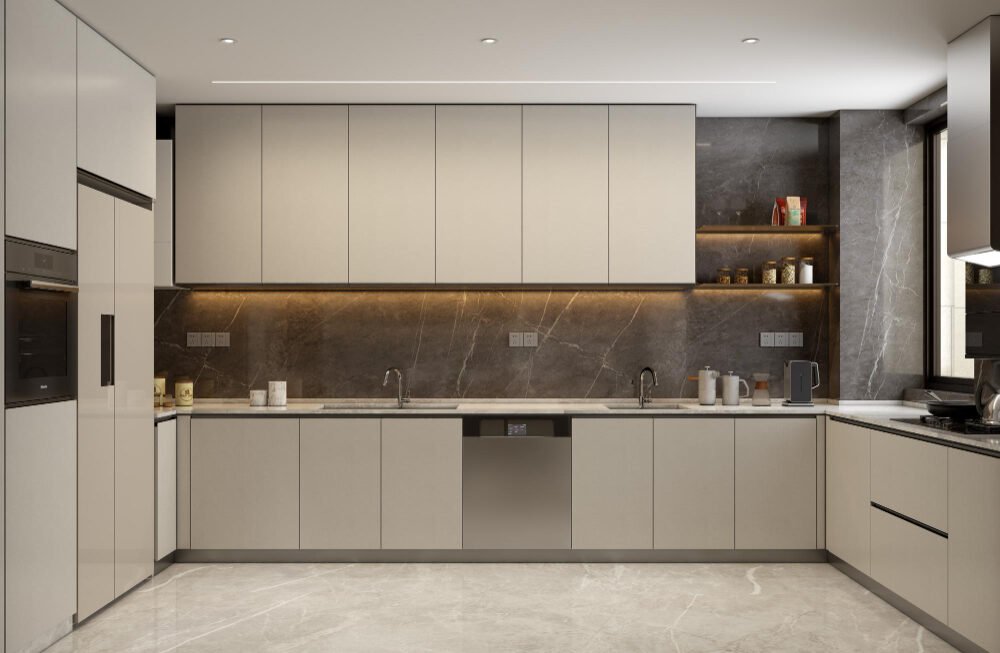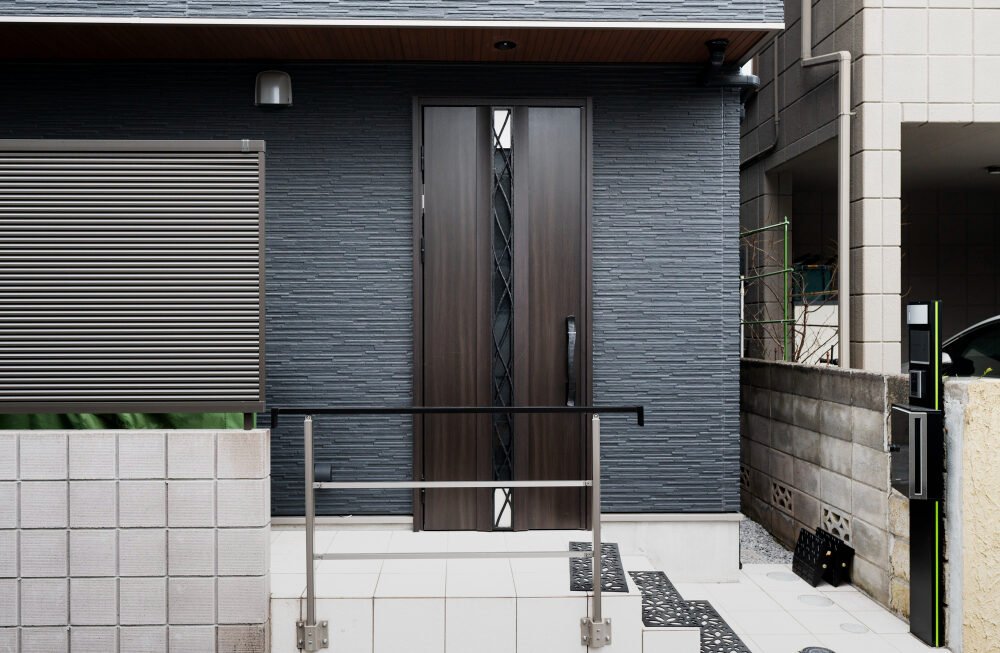
Step 1: Evaluate Your Home’s Current Condition
Before choosing colors or materials, take time to inspect your home’s exterior carefully. A renovation should solve existing problems—not simply cover them up. Walk around your home and look for signs of wear, moisture damage, aging materials, or areas that no longer perform efficiently. Inspection Checklist- ✓ Cracked or damaged siding
- ✓ Peeling paint or fading finishes
- ✓ Worn caulking around windows and doors
- ✓ Damaged trim or fascia boards
- ✓ Roof areas showing signs of age
- ✓ Poor drainage around the foundation
- ✓ Exterior lighting that needs updating
Tip
Take photos from multiple angles before beginning your project. They make it easier to compare design ideas and monitor progress throughout the renovation.
⚠ Warning
Never install new siding or decorative finishes before repairing hidden moisture damage, structural issues, or deteriorated sheathing.
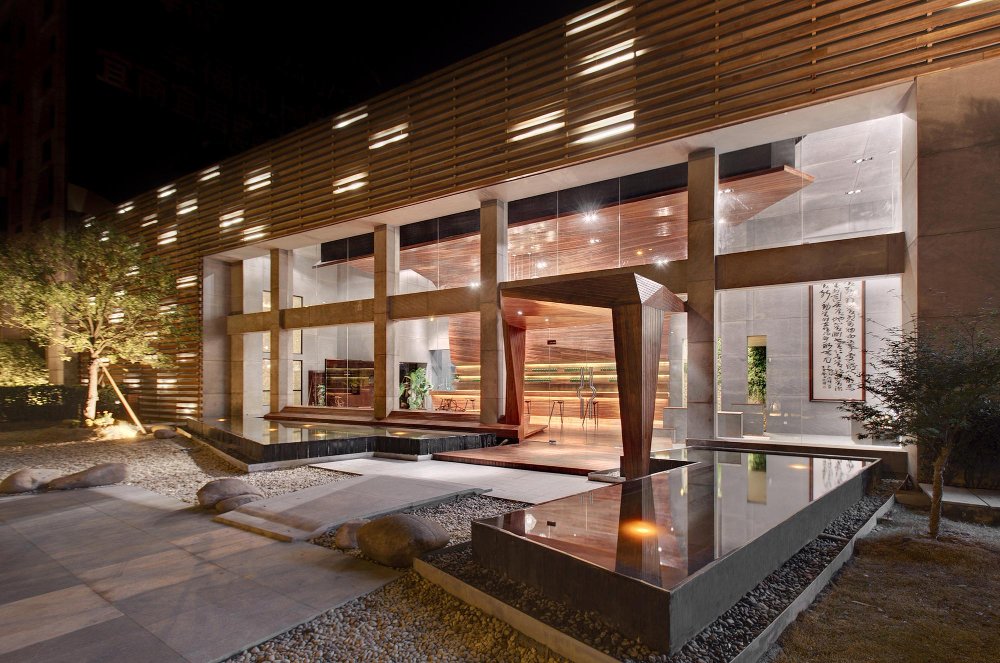
Step 2: Plan Your Exterior Home Renovation
Once you’ve identified problem areas, it’s time to create a renovation plan. Rather than upgrading one feature at a time, think about how every element works together to create a cohesive exterior. Successful remodeling projects often include several coordinated improvements instead of focusing on a single upgrade. Consider updating:- Replace outdated siding with durable modern materials.
- Install energy-efficient windows.
- Upgrade the front entry door.
- Refresh trim and architectural details.
- Add modern exterior lighting.
- Improve landscaping around the entrance.
Tip
Create a sample board with siding colors, trim, roofing, stone accents, and paint swatches before making final selections. Seeing everything together helps prevent costly design mistakes.
⚠ Warning
Avoid choosing materials based only on appearance. Always consider maintenance requirements, local climate, and long-term durability.
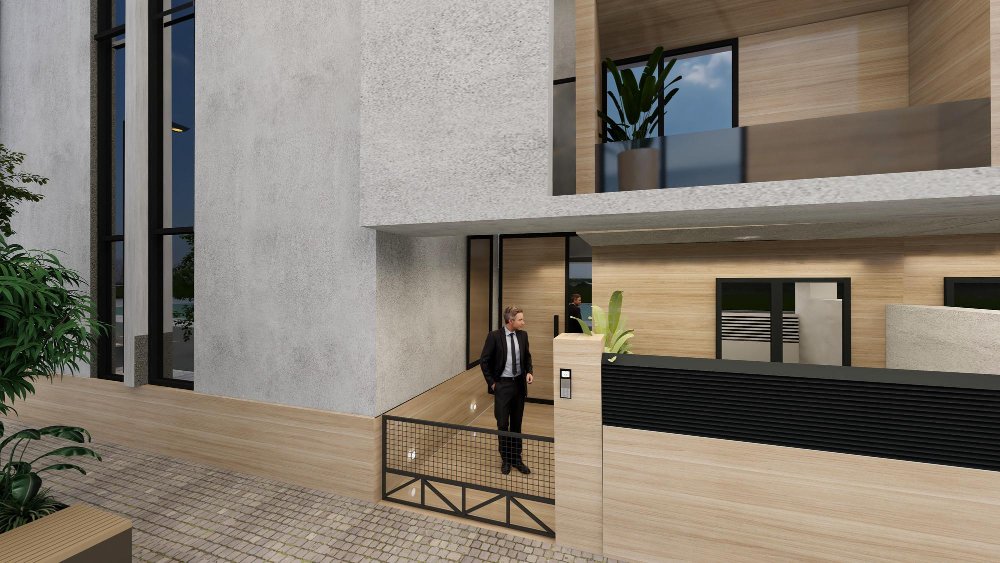
Step 3: Invest in Professional Installation
Even the highest-quality materials cannot perform properly if they are installed incorrectly. Professional installation protects your investment by ensuring that every component works together to keep your home safe, energy efficient, and weather resistant. A professional contractor typically evaluates insulation, ventilation, flashing, moisture barriers, and structural conditions before installation begins. Professional installation usually includes:- ✓ Detailed project planning
- ✓ Surface preparation
- ✓ Moisture protection
- ✓ Accurate siding and trim installation
- ✓ Window and door sealing
- ✓ Final quality inspection
Tip
Request a written project schedule before construction begins so you know when each phase of the renovation will be completed.
⚠ Warning
Do not skip waterproofing details around windows, doors, and roof connections. These areas are among the most common sources of future water damage.
Read More in RSVP Home Blog
- Custom Closet for Your Cliff Cannon Home: Personalized Storage That Simplifies Life
 Learn how personalized closet systems in Cliff Cannon create organized, efficient living spaces.
 - Commercial Roof Replacement: Investing in Lasting Protection for Your Building
 A commercial roof replacement is more than a construction project—it’s an investment in the future of your property. This article explores how premium roofing materials, thoughtful engineering, and skilled craftsmanship work together to improve building performance, protect valuable assets, and deliver lasting peace of mind for commercial property owners.
 - Kitchen & Bathroom Cabinet Contractor in Clarksville, ID: Custom Storage Solutions for Every Room
 Learn how professional cabinet contractors in Clarksville, ID transform kitchens and bathrooms with personalized storage solutions.