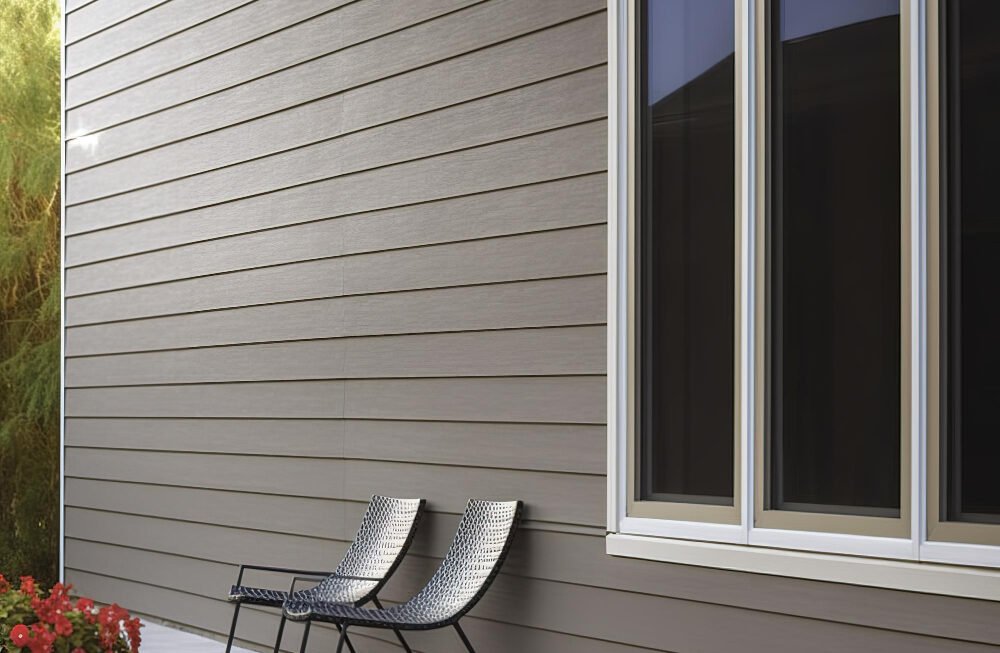
Siding does more than just boost curb appeal—it protects your home from the elements, improves insulation, and prevents structural damage. Whether you’re dealing with cracked panels, loose boards, or warping, fixing your siding doesn’t have to be overwhelming. With the right tools, a little patience, and a Bob Vila-inspired DIY approach, you can tackle your siding repair like a pro.
Here’s everything you need to know about fixing siding on your house, from diagnosing the issue to ensuring a seamless repair.
Step 1: Identify the Siding Problem
Before you jump into repairs, assess the damage. Siding issues can range from minor wear and tear to serious structural concerns. Common problems include: ✔ Cracks or Holes – Often caused by weather exposure or impact from debris. ✔ Warping or Buckling – Usually due to improper installation or excessive heat exposure. ✔ Loose or Missing Panels – Strong winds and storms can dislodge siding. ✔ Mold or Rot – Moisture infiltration can lead to decay, particularly in wood siding. ✔ Fading or Peeling Paint – UV exposure can degrade the finish over time.
💡 Pro Tip: Inspect your siding at least twice a year, preferably in spring and fall, to catch problems early.
Step 2: Gather Your Tools & Materials
To make this job as smooth and efficient as possible, gather the necessary tools ahead of time. Depending on the siding type, you may need: ✔ Replacement Siding Panels – Match your current material and color as closely as possible. ✔ Pry Bar or Siding Removal Tool – To carefully remove damaged pieces. ✔ Hammer & Nails or Screws – Fastening tools for secure installation. ✔ Caulk & Sealant – Waterproofing to prevent future moisture issues. ✔ Utility Knife & Tin Snips – For precise cutting of vinyl or aluminum siding. ✔ Measuring Tape & Level – To ensure straight and even installation. ✔ Safety Gear – Gloves, safety glasses, and a dust mask for protection.
💡 Pro Tip: If you have fiber cement siding, use a circular saw with a diamond blade for clean cuts.
Step 3: Removing the Damaged Siding
For vinyl or aluminum siding, follow these steps:
- Unlock the Panel – Use a siding removal tool or pry bar to gently unhook the damaged section.
- Detach the Nails or Screws – Remove fasteners holding the panel in place.
- Slide Out the Old Panel – Carefully slide out the damaged piece without affecting surrounding panels.
For wood siding, follow these steps:
- Use a Pry Bar – Carefully remove nails and pry off the damaged section.
- Cut Out Rotted Areas – Use a saw to remove compromised sections if needed.
- Sand & Prep the Area – Smooth the edges before installing a new piece.
💡 Pro Tip: Work slowly to avoid damaging surrounding siding—rushing can lead to bigger problems.
Step 4: Installing the New Siding Panel
Once the damaged section is removed, it’s time for installation:
- Measure & Cut the New Panel – Ensure it matches the dimensions of the old siding.
- Slide the New Panel Into Place – Lock vinyl panels into the existing siding track.
- Secure with Nails or Screws – Fasten with the appropriate hardware, ensuring a snug but flexible fit.
- Seal the Edges – Apply caulk to prevent water infiltration and enhance durability.
- Repaint if Necessary – For wood siding, apply a fresh coat of weatherproof paint to match the rest of the house.
💡 Pro Tip: When nailing siding, leave a small gap to allow for natural expansion and contraction due to temperature changes.
Step 5: Preventing Future Siding Issues
To keep your siding in top condition, follow these maintenance tips: ✔ Clean Your Siding Annually – Use a mild detergent and soft brush or pressure washer. ✔ Inspect After Storms – Check for loose or cracked panels and fix them immediately. ✔ Trim Nearby Trees & Bushes – Prevent branches from scratching or damaging the siding. ✔ Check for Moisture Buildup – Ensure proper drainage and ventilation to avoid mold and rot. ✔ Touch Up Paint & Sealant – Maintain protective coatings, especially on wood and fiber cement siding.
💡 Pro Tip: Invest in high-quality siding materials—they may cost more upfront but last significantly longer and require less maintenance.
Read More in RSVP Home Blog
- Custom Closet for Your Cliff Cannon Home: Personalized Storage That Simplifies Life
 Learn how personalized closet systems in Cliff Cannon create organized, efficient living spaces.
 - Commercial Roof Replacement: Investing in Lasting Protection for Your Building
 A commercial roof replacement is more than a construction project—it’s an investment in the future of your property. This article explores how premium roofing materials, thoughtful engineering, and skilled craftsmanship work together to improve building performance, protect valuable assets, and deliver lasting peace of mind for commercial property owners.
 - Kitchen & Bathroom Cabinet Contractor in Clarksville, ID: Custom Storage Solutions for Every Room
 Learn how professional cabinet contractors in Clarksville, ID transform kitchens and bathrooms with personalized storage solutions.
A DIY Siding Fix That Lasts
By following these steps, you can repair your siding like a pro and extend its lifespan for years to come. Whether you’re patching up a small hole or replacing entire sections, taking a Bob Vila-inspired approach means prioritizing quality materials, smart techniques, and preventative care.
✔ Assess the damage carefully before starting repairs.
✔ Use the right tools and materials for a secure installation.
✔ Work methodically to prevent further damage.
✔ Stay on top of maintenance to avoid future issues.
If you’re tackling a more extensive siding project, consider consulting a professional to ensure a long-lasting and weatherproof finish. Either way, a well-maintained home exterior not only looks great but also protects your investment for years to come!